Introduction
In the realm of document collaboration, Microsoft Sheets emerges as a powerful tool that facilitates seamless editing and sharing. However, managing multiple users and keeping track of changes can be a daunting task. Fortunately, Sheets offers robust features that enable meticulous tracking and analysis of all modifications made to your spreadsheets and documents.

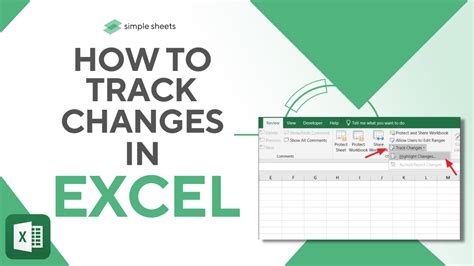
How to Track Changes in Sheets
-
Enable Editing History: Navigate to “Edit” in the menu bar and select “Enable Editing History.” This feature records all changes made to the spreadsheet, including the timestamps, authors, and specific edits.
-
Check Editing History: Click “File” in the menu bar and choose “See Edit History.” A sidebar will appear on the right, displaying a chronological list of edits. You can filter the history by time period, author, or type of change.
-
View Changes in Context: Hover over a specific edit in the history to view its details, including the cell range that was modified and the exact changes that were made. You can also click “Show in sheet” to highlight the relevant cell range.
Utilizing Changes History for Audit Trail and Collaboration
Audit Trail
Editing history serves as an invaluable audit trail, providing a comprehensive record of all edits made to a spreadsheet. This becomes particularly crucial in regulated industries or environments with compliance requirements.
Improved Collaboration
By tracking changes, you can gain insights into how collaborators contribute to a spreadsheet. It identifies areas where multiple users have made edits, reducing the likelihood of conflicting changes or data loss.
Tips and Tricks
- Utilize keyboard shortcuts to quickly access editing history: Ctrl+Alt+H (Windows) or Cmd+Option+H (Mac).
- Add notes to specific edits to provide additional context or explain your reasoning behind the changes.
- Use “Find and Replace” to locate specific edits within the editing history.
- Collaborate with others in real-time and see their edits directly in the spreadsheet.
Common Mistakes to Avoid
- Ignoring Editing History: Failing to track changes can lead to lost data, confusion, and the inability to trace the source of errors.
- Overloading the Editing History: Enabling editing history for large spreadsheets can slow down performance. Consider archiving old changes to keep the history manageable.
- Misinterpreting Changes: Carefully review edit details to ensure that you understand the scope and intent of the changes made.
How to Step-by-Step
Step 1: Enable Editing History
- Open the spreadsheet in Sheets.
- Click on “Edit” in the menu bar.
- Select “Enable Editing History.”
Step 2: Check Editing History
- Click on “File” in the menu bar.
- Select “See Edit History.”
- A sidebar will appear on the right.
Step 3: View Changes in Context
- Hover over a specific edit in the history.
- Click on “Show in sheet” to highlight the relevant cell range.
Conclusion
Leveraging the Sheets editing history feature empowers you with the ability to monitor changes, enhance collaboration, and maintain an accurate Audit Trail. By following these steps and incorporating the tips provided, you can effectively track and manage edits in your Sheets documents, ensuring data integrity and seamless collaboration.