Planning Center is an essential tool for churches and other organizations to plan and manage their events, resources, and people. One of the most important features of Planning Center is the ability to create and edit lists. This guide will provide you with everything you need to know about editing lists in Planning Center.
Why Edit Lists Matters
Lists are a powerful tool to organize and manage information. In Planning Center, lists can be used for a variety of purposes, including:
- Keeping track of people, such as members, volunteers, and staff
- Managing resources, such as rooms, equipment, and vehicles
- Planning events, such as services, concerts, and conferences
- Tracking progress on projects and initiatives
By keeping your lists up-to-date and accurate, you can improve your organization’s efficiency and effectiveness.
Benefits of Editing Lists in Planning Center
There are many benefits to editing lists in Planning Center, including:
- Easy to use: Planning Center’s user-friendly interface makes it easy to create, edit, and manage lists.
- Customizable: You can customize lists to meet your specific needs. For example, you can add custom fields, sort lists by different criteria, and filter lists to display only the information you need.
- Secure: Planning Center uses industry-leading security measures to protect your data. Your lists are stored securely and are only accessible to authorized users.
- Integrated: Planning Center integrates with other Planning Center products, such as Planning Center Services and Planning Center Online Giving. This integration allows you to easily share lists between products and automate tasks.
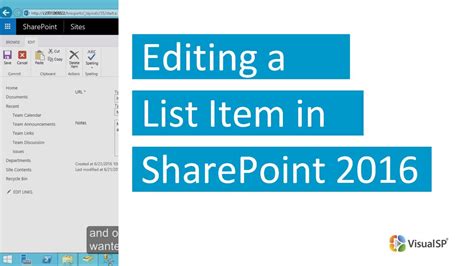
Step-by-Step Guide to Editing Lists in Planning Center
- Log in to Planning Center. To log in to Planning Center, go to https://planningcenter.com and enter your username and password.
- Go to the Lists tab. Once you are logged in, click on the Lists tab in the top menu.
- Find the list you want to edit. You can find the list you want to edit by searching for it in the search bar or by clicking on the All Lists tab.
- Click on the Edit button. Once you have found the list you want to edit, click on the Edit button.
- Make your changes. You can make any changes you want to the list, such as adding new items, deleting items, or changing the order of the items.
- Click on the Save button. Once you have made your changes, click on the Save button to save your changes.
Tips and Tricks
Here are some tips and tricks for editing lists in Planning Center:
- Use the keyboard shortcuts to speed up your editing. For example, you can use the Tab key to move between fields and the Enter key to add new items.
- Use the drag-and-drop feature to rearrange the order of the items in a list.
- Use the filter feature to display only the information you need. For example, you can filter a list of people by their last name or by their role in the organization.
- Use the export feature to export a list to a CSV file. This can be useful for sharing lists with other people or for backing up your data.
Conclusion
Editing lists in Planning Center is a simple and straightforward process. By following the steps in this guide, you can easily create, edit, and manage lists to help your organization stay organized and efficient.
Additional Resources
- Planning Center Help Center: https://help.planningcenter.com/
- Planning Center Community Forum: https://community.planningcenter.com/
- Planning Center Blog: https://blog.planningcenter.com/