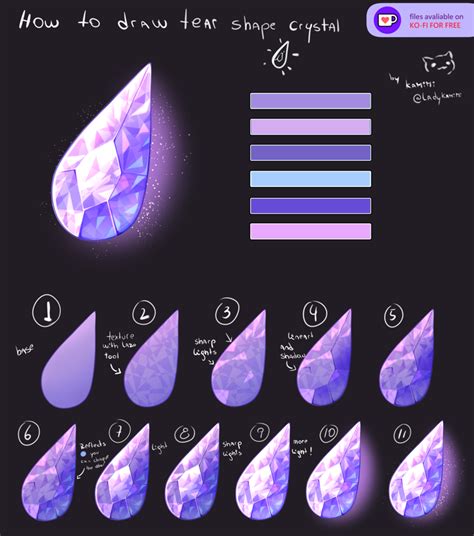
As an artist, capturing the subtleties of human emotion through your work is essential. Tears are a powerful way to convey sadness, joy, or pain, and rendering them realistically can elevate your artwork to new heights. In this comprehensive guide, we’ll delve into the step-by-step process of drawing a tear in Clip Studio Paint (CSP), unlocking a new level of emotional expression in your digital illustrations.
Materials You’ll Need:
- Clip Studio Paint software
- Digital drawing tablet
- Stylus or pen
Step 1: Establishing the Shape and Position
-
Create a new layer: Begin by creating a new layer specifically for the tear. This will allow you to work on the tear independently from the other elements of your drawing.
-
Sketch the outline: Using a hard round brush, lightly sketch the outline of the tear. Start with a small dot at the inner corner of the eye and gradually extend the line downward. The shape of the tear can vary depending on the desired effect; a curved line will create a more natural-looking tear, while a straighter line can convey a sense of determination.
Step 2: Adding Volume and Texture
-
Create a base color layer: Beneath the outline layer, create a new layer for the base color of the tear. Use a soft round brush to fill in the tear shape with a light gray or blue-gray color. This base color will provide a foundation for the subsequent shading and highlights.
-
Establish shadows: Using a darker shade of gray or blue, carefully paint in the shadows along the edges of the tear. Focus on creating a gradual transition from light to dark, with the darkest shadows concentrated towards the inner corner of the eye.
-
Highlight the tear: To create the illusion of depth and realism, add highlights to the tear. Use a lighter shade of gray or blue and paint in subtle strokes along the upper edge of the tear and on any areas that would naturally catch the light.
Step 3: Enhancing the Details
-
Add reflections: Tears often reflect light, so including reflections can add depth and realism to your drawing. Use a small, hard brush to paint in faint, white streaks along the edges of the tear.
-
Create a tear drop: To finalize the tear, add a small, elongated drop at the tip. Use a darker shade of the base color and paint the drop with a soft, round brush. The tear drop can be slightly curved or pointed, depending on the desired effect.
-
Blur the edges: To create a more natural transition between the tear and the skin, use a soft brush with a low opacity to gently blur the edges of the tear. This will help blend the tear into the surrounding area.
Pro Tips for Drawing Realistic Tears:
-
Observe real tears: Study photographs or observe people crying to understand the shape, size, and texture of real tears.
-
Experiment with different brushes: Use a variety of brush sizes and shapes to create different effects. A soft brush can create a more diffused, subtle tear, while a hard brush can produce a more defined, crisp tear.
-
Pay attention to lighting: The way light interacts with tears can affect their appearance. Experiment with different lighting angles to create various effects.
-
Consider the context: The context of the tear can influence its shape and texture. A tear of sadness may be more rounded and diffuse, while a tear of joy may be more pointed and clear.
Beyond Tears: Expanding Your Emotional Expression
Mastering the art of drawing tears is an essential skill for any artist seeking to convey raw emotions in their work. However, there are countless other ways to express emotions through drawing. Here are a few ideas to inspire your creativity:
-
Laughter: Draw curved lines and exaggerated mouths to convey laughter and joy.
-
Anger: Use sharp lines, furrowed brows, and bared teeth to depict anger and rage.
-
Fear: Render wide eyes, trembling hands, and distorted features to evoke a sense of fear or terror.
-
Surprise: Capture raised eyebrows, open mouths, and gestures of amazement to convey surprise or shock.
Conclusion
Drawing tears in CSP is a rewarding skill that can transform your digital illustrations into emotionally charged works of art. By following the steps outlined in this guide and experimenting with different techniques, you can unlock a wide range of expressive possibilities. Remember to observe real tears, experiment with different brushes, consider lighting, and explore beyond tears to capture the full spectrum of human emotions in your drawings.
