PowerPoint Screen Recordings
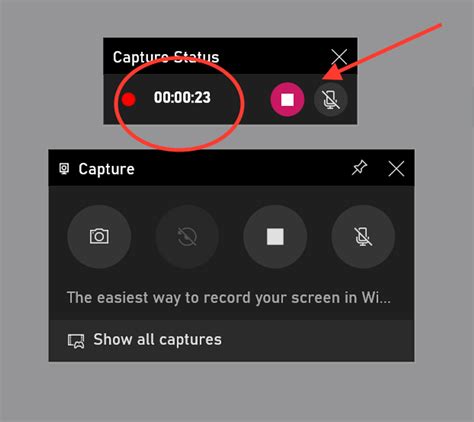
PowerPoint allows you to record your screen and add it to your slides. This can be a great way to show your audience how to do something, or to provide a visual aid for your presentation.
Reverse Your Screen Recording
Once you’ve recorded your screen, you can reverse it using the following steps:
- Click on the “Insert” tab.
- Click on the “Timeline” button.
- Select the screen recording that you want to reverse.
- Click on the “Playback” tab.
- Click on the “Reverse” button.
Benefits of Reversing Your Screen Recording
Reversing your screen recording can be useful for a variety of reasons, including:
- It can help you to create a more engaging presentation. By reversing your screen recording, you can show your audience how to do something in a different way. This can help to keep them engaged and interested in your presentation.
- It can help you to troubleshoot problems. If you’re having trouble with a particular task, you can reverse your screen recording to see how you did it the first time. This can help you to identify the problem and fix it.
- It can help you to create a more polished presentation. By reversing your screen recording, you can remove any mistakes or pauses that you made while recording. This can help to create a more professional and polished presentation.
Drawbacks of Reversing Your Screen Recording
There are a few potential drawbacks to reversing your screen recording, including:
- It can take time. Reversing a screen recording can take several minutes, depending on the length of the recording.
- It can be difficult to edit. Once you’ve reversed your screen recording, it can be difficult to edit it. This is because the recording will be played backwards, which can make it difficult to find the specific parts that you want to change.
- It can cause confusion. If you’re not careful, reversing your screen recording can cause confusion for your audience. This is because they may not be expecting the recording to be played backwards.
Tips for Reversing Your Screen Recording
Here are a few tips for reversing your screen recording:
- Make sure that you have enough time. Reversing a screen recording can take several minutes, so make sure that you have enough time to complete the process before you need to use the recording.
- Be careful when editing. Once you’ve reversed your screen recording, it can be difficult to edit it. This is because the recording will be played backwards, which can make it difficult to find the specific parts that you want to change.
- Test your recording before you use it. Before you use your reversed screen recording in a presentation, test it to make sure that it works correctly. This will help you to avoid any surprises during your presentation.
Reversing your screen recording can be a useful way to create a more engaging, polished, and troubleshooting presentation. By following the tips above, you can create a reversed screen recording that will help you to achieve your presentation goals.