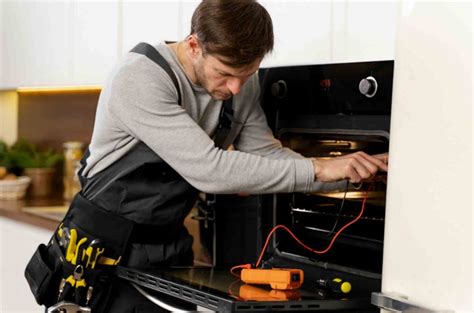
Introduction

A malfunctioning oven igniter can be a frustrating inconvenience, hindering your ability to cook meals and enjoy the convenience of your oven. Replacing the igniter yourself can be a cost-effective solution, saving you the expense of hiring a repair technician. This comprehensive guide will walk you through the steps involved in replacing an oven igniter, empowering you with the knowledge and skills to tackle this task with confidence.
Identifying the Need for Replacement
Several signs indicate a failing or malfunctioning oven igniter:
- Difficulty lighting: The oven takes multiple attempts to ignite or fails to ignite altogether.
- Frequent sparking: Excessive sparking occurs when the igniter is attempting to ignite the gas.
- Burnt or broken igniter: Visible damage to the igniter, such as a burnt-out element or a broken ceramic insulator.
Safety Precautions
Before attempting to replace the oven igniter, ensure you take the following safety precautions:
- Disconnect power: Turn off the circuit breaker or fuse that supplies power to the oven.
- Allow cooling: Allow the oven to cool completely to prevent burns.
- Use gloves: Wear heat-resistant gloves to protect your hands from heat and sharp edges.
Materials Required
- Replacement oven igniter
- Screwdriver
- Pliers (optional)
- Flashlight (optional)
Step-by-Step Guide to Replacing Oven Igniter
1. Remove the Oven Door:
- Open the oven door fully.
- Locate the hinges on the sides of the door.
- Push the tabs or levers on the hinges to release the door.
2. Unscrew the Control Panel:
- Locate the screws holding the control panel in place.
- Using a screwdriver, carefully remove the screws.
- Gently lift the control panel away from the oven.
3. Access the Igniter:
- Locate the oven igniter, which is typically positioned near the base of the oven cavity.
- It may be held in place by a bracket or screws.
- Remove the bracket or unscrew the screws to release the igniter.
4. Disconnect the Wires:
- Carefully disconnect the wires connected to the igniter. Note the wiring configuration for reassembly.
- Use pliers if necessary to grip and pull the wires.
5. Remove Old Igniter:
- Grip the old igniter and pull it straight out of the oven cavity.
- Use a flashlight to inspect the igniter socket for any debris or damage.
6. Install New Igniter:
- Insert the new igniter into the socket, making sure it is properly aligned.
- Push the igniter firmly into place until it seats securely.
7. Reconnect Wires:
- Connect the wires to the new igniter, ensuring they are in the correct configuration.
- Tighten the wire connections using pliers.
8. Test the Igniter:
- Turn on the power to the oven.
- Open the oven door to allow the igniter to heat up.
- Close the door and press the ignition button.
9. Reinstall Control Panel:
- Carefully align the control panel with the oven body.
- Screw the control panel back into place using the screws removed earlier.
10. Reattach Oven Door:
- Lift the oven door and align it with the hinges.
- Push the tabs or levers on the hinges to lock the door in place.
Troubleshooting Tips
- If the oven still fails to ignite after replacing the igniter, check the following:
- Electrical connections: Ensure all wires are securely connected.
- Gas supply: Check if the gas line is turned on and unobstructed.
- Spark gap: Adjust the spark gap between the igniter and the burner as per the manufacturer’s instructions.
Conclusion
Replacing an oven igniter is a straightforward and cost-effective repair that can restore the functionality of your oven. By following the steps outlined in this guide and taking the necessary safety precautions, you can successfully complete this task, saving yourself the time and expense of a professional repair. Remember, regular maintenance and cleaning can extend the lifespan of your oven igniter and ensure continued trouble-free operation.