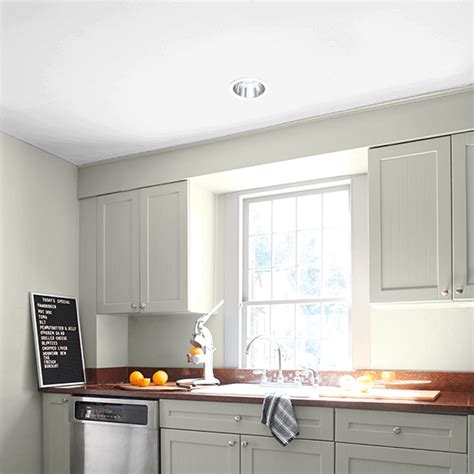
Flat ceiling paint, with its matte finish, is a popular choice for ceilings due to its ability to conceal imperfections and create a uniform, inviting atmosphere. Whether you’re repainting an existing ceiling or tackling a new project, understanding the intricacies of flat ceiling paint can ensure a successful outcome.

Choosing the Right Paint
Selecting the right flat ceiling paint is crucial for achieving the desired result. Consider the following factors:
-
Opacity: Flat ceiling paints have varying levels of opacity, measured in percent. Higher opacity means greater coverage and hiding power. Aim for a paint with at least 80% opacity.
-
Washability: If you anticipate cleaning the ceiling, choose a paint with good washability. Look for paints labeled “scrubbable” or “washable.”
-
Coverage: Coverage is measured in square feet per gallon. Determine the square footage of your ceiling and choose a paint that provides adequate coverage.
-
Brand: Different paint brands offer varying qualities. Research reputable brands and read customer reviews to find the best option for your needs.
Surface Preparation
Before applying flat ceiling paint, proper surface preparation is essential.
-
Clean the Ceiling: Remove dust and dirt using a damp sponge or microfiber cloth. For heavily soiled ceilings, use a cleaning solution specifically designed for ceilings.
-
Repair Imperfections: Inspect the ceiling for cracks, holes, or stains. Fill cracks with spackling paste and allow it to dry. Sand down any rough edges.
-
Prime the Surface: Primer creates a bonding layer and helps the paint adhere to the ceiling. Use a ceiling-specific primer to prevent peeling and chipping.
Application Techniques
Applying flat ceiling paint requires patience and precise execution.
-
Use a Roller: A high-quality paint roller is the preferred tool for applying flat ceiling paint. Use a roller with a nap size of 1/2 inch to 3/4 inch.
-
Thin the Paint: For best results, thin the paint slightly with water according to the manufacturer’s instructions. This helps the paint flow smoothly and evenly.
-
Roll in a W-Pattern: Start by rolling the paint in a W-shaped pattern to distribute it evenly. Then, overlap the strokes and roll in parallel lines to cover the entire surface.
-
Use Two Coats: Allow the first coat to dry completely before applying a second coat. This ensures a uniform finish and full coverage.
Troubleshooting Common Issues
-
Paint Streaks: Ensure the paint is not too thick. Thin it with water if necessary. Use a smooth, even rolling motion.
-
Roller Marks: Apply even pressure while rolling. Avoid over-rolling the same area.
-
Bubbles: Remove any trapped air by rolling over the surface with a bubble-release roller.
-
Uneven Coverage: Use a light touch while rolling. Overworking the paint can lead to uneven spots.
-
Peeling or Chipping: Ensure the ceiling was properly primed and the paint was applied correctly. Peeling or chipping can also be caused by moisture issues.
Flat Ceiling Paint Applications
While primarily used for ceilings, flat ceiling paint has found innovative applications in other areas:
-
Create Texture: Add texture to a wall by stippling flat ceiling paint with a sponge or brush.
-
Chalkboard Walls: Transform a wall into a chalkboard by applying flat ceiling paint in a dark color.
-
Faux Finishes: Createfaux marble or wood finishes by layering and blending different shades of flat ceiling paint.
Market Overview
According to the National Paint and Coatings Association (NPCA), flat ceiling paint accounts for approximately 40% of all interior paint sales in the United States. This popularity is attributed to its affordability, versatility, and ability to create a clean, polished look.
Conclusion
Flat ceiling paint, with its smooth, matte finish, is an essential tool for achieving a flawless ceiling in any room. By choosing the right paint, preparing the surface meticulously, and following proper application techniques, you can create a beautiful and inviting space. Whether you’re a seasoned DIY enthusiast or a professional painter, understanding the intricacies of flat ceiling paint empowers you to transform your home with confidence.
Table 1: Flat Ceiling Paint Characteristics
| Characteristic | Value |
|---|---|
| Sheen | Matte |
| Opacity | 70-90% |
| Washability | Scrubbable or washable |
| Coverage | 200-400 square feet per gallon |
Table 2: Surface Preparation Checklist
| Step | Action |
|---|---|
| 1 | Clean the ceiling |
| 2 | Repair imperfections |
| 3 | Prime the surface |
Table 3: Application Techniques
| Technique | Description |
|---|---|
| Thinning | Dilute the paint slightly with water |
| Roller | Use a high-quality paint roller with a 1/2 inch to 3/4 inch nap |
| W-Pattern | Roll the paint in a W-shaped pattern |
| Overlap | Overlap each stroke while rolling |
| Two Coats | Allow the first coat to dry completely before applying the second |
Table 4: Troubleshooting Common Issues
| Problem | Solution |
|---|---|
| Paint Streaks | Thin the paint or use a smoother rolling motion |
| Roller Marks | Apply even pressure while rolling |
| Bubbles | Use a bubble-release roller |
| Uneven Coverage | Use a light touch while rolling |
| Peeling or Chipping | Ensure proper priming and application |
