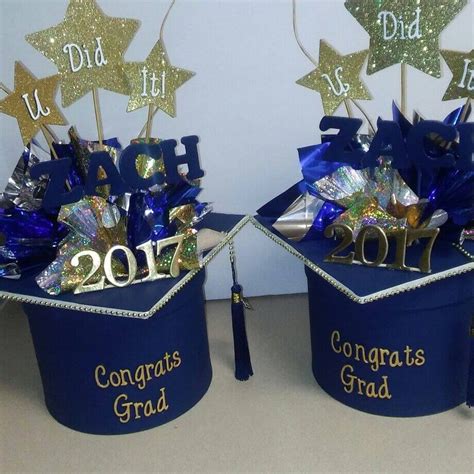
As graduates embark on a new chapter in their lives, graduation parties serve as joyous occasions to commemorate their achievements and celebrate their future endeavors. Centerpieces play a crucial role in setting the ambiance and adding a touch of sophistication to these momentous events. Here’s an exploration of enchanting graduation party centerpieces that will leave a lasting impression on guests:
The Classic Cap and Gown
Materials:
- Black and gold construction paper
- Cardboard
- Glue or tape
- Scissors
Instructions:
- Cut out a rectangular piece of black construction paper for the gown.
- Fold the top edge of the paper down about 1 inch and create a collar.
- Cut out a round piece of cardboard for the cap and glue it to the top of the gown.
- Cut out a tassel from gold construction paper and glue it to the side of the cap.
The Mortarboard Masterpiece
Materials:
- Cardboard
- Fabric or paper
- Glue or tape
- Scissors
- Embellishments (e.g., ribbon, tassels)
Instructions:
- Cut out a square or rectangular piece of cardboard for the base of the mortarboard.
- Cover the cardboard with fabric or paper and secure it with glue or tape.
- Cut out a tassel from fabric or paper and glue it to the center of the mortarboard.
- Add embellishments, such as ribbon or tassels, around the edges.
The Diploma Display
Materials:
- Picture frame
- Diploma or copy
- Glue or tape
- Ribbon or embellishments
Instructions:
- Place the diploma or a copy in the picture frame.
- Secure it with glue or tape to prevent damage.
- Add ribbon or embellishments around the frame for decoration.
The Scholastic Stack
Materials:
- Books
- Flowers or greenery
- Ribbon or twine
Instructions:
- Stack the books in a pyramid shape.
- Place flowers or greenery in between the books to create a cascading effect.
- Tie the ribbon or twine around the stack to secure the arrangement.
The Photo Op Centerpiece
Materials:
- Large frame
- Graduation photos
- Twine or string
- Clips or clothespins
Instructions:
- Remove the glass from the frame.
- Attach graduation photos to the backboard using twine or string and clips or clothespins.
- Place the frame on a table or stand as a photo booth area for guests.
Tips and Tricks:
- Consider the size of your centerpieces in relation to the table size. Avoid overcrowding tables.
- Use a variety of colors and textures to create visual interest.
- Choose centerpieces that reflect the graduate’s personality or interests.
- Reuse materials to create centerpieces that are both stylish and budget-friendly.
- Look for inspiration online or in home decor magazines.
Comparison of Centerpiece Materials:
| Material | Pros | Cons |
|---|---|---|
| Paper | Inexpensive, versatile | Can be easily damaged |
| Cardboard | Durable, sturdy | Can be bulky |
| Fabric | Elegant, customizable | Can be more expensive |
| Wood | Natural, timeless | Can be heavy |
| Metal | Modern, industrial | Can be rust-prone |
Frequently Asked Questions:
Q: How many centerpieces should I have for my graduation party?
A: A good rule of thumb is to have one centerpiece for every six guests.
Q: Can I DIY my own centerpieces?
A: Absolutely! DIY centerpieces can save money and add a personal touch to your party.
Q: Where should I place my centerpieces?
A: Centerpieces are typically placed in the center of tables. You can also place them on buffet tables, dessert tables, or other display areas.
Q: What are some unique centerpiece ideas?
A: Consider using graduation-themed balloons, candles, or even personalized photo cubes as centerpieces.