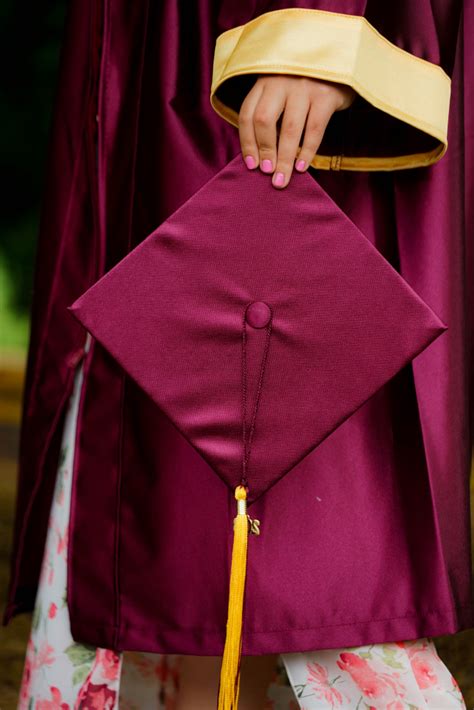
Stepping into the hallowed halls of graduation, adorned in your academic regalia, is a moment etched in the annals of your life. However, nothing can dampen the grandeur of this occasion more than a wrinkled or disheveled graduation gown. This guide will unveil the intricacies of graduation gown ironing, empowering you to present yourself with the utmost confidence and poise on this momentous day.
Why Ironing Your Graduation Gown Matters
According to the National Association of College Stores (NACS), approximately 20% of graduates experience some form of garment imperfection during their graduation ceremony. A wrinkled gown not only compromises the aesthetics of your attire but also reflects poorly on your overall preparedness and attention to detail.
Benefits of Ironing Your Gown
- Creates a polished and professional appearance: A freshly ironed gown exudes a sense of sophistication and respect, enhancing your presence among attendees.
- Avoids distractions and embarrassment: Wrinkles and creases can draw attention away from your accomplishments and detract from the significance of the occasion.
- Increases self-confidence: Knowing that you look your best can boost your confidence and allow you to fully embrace the celebratory nature of the event.
Materials You’ll Need
- Graduation gown
- Iron or steamer
- Ironing board or flat surface
- Damp cloth or spray bottle
- Garment hanger
Step-by-Step Ironing Guide
-
Hang your gown: Place the gown on a hanger to prevent creases from forming while ironing.
-
Adjust the iron temperature: Set the iron’s temperature according to the fabric of your gown. Most gowns are made of polyester, which requires a low to medium heat setting.
-
Dampen the gown (optional): If needed, lightly mist the gown with water using a spray bottle or dampen a cloth and wring out the excess. This will help reduce wrinkles and make ironing easier.
-
Start ironing: Begin ironing from the shoulders downward, using long, sweeping strokes. Avoid pressing too hard or holding the iron in one spot for too long, as this can scorch the fabric.
-
Iron the sleeves: For short sleeves, iron from the shoulder to the cuff. For long sleeves, turn the cuff inside out and iron from the shoulder down to the cuff, then turn the cuff back and iron the other side.
-
Iron the pleats: If your gown has pleats, iron along the creases to sharpen and define them.
-
Iron the hood (if necessary): If your gown has a hood, iron it flat or shape it according to your preference.
Tips for Ironing Specific Fabrics
- Polyester: Use a low to medium heat setting and a damp cloth to prevent scorching.
- Velvet: To avoid crushing the velvet nap, steam or iron from the reverse side with a towel beneath.
- Silk: Use a low heat setting and a dry iron or steamer. Avoid direct contact between the iron and the silk fabric.
Troubleshooting Common Ironing Problems
- Wrinkles won’t go away: Increase the iron’s temperature or steam setting and dampen the fabric more thoroughly.
- Scorched fabric: Reduce the iron’s temperature or use a protective cloth between the iron and the fabric.
- Ironing board marks: Place a layer of soft fabric or a towel over the ironing board to prevent impressions from forming.
FAQs
1. Can I use a steamer instead of an iron?
Yes, a steamer is an excellent alternative to an iron, especially for delicate fabrics like silk. It provides a more even distribution of heat and prevents scorching.
2. Should I iron my gown the night before or the day of graduation?
It is recommended to iron your gown the morning of graduation to ensure it is wrinkle-free for the ceremony. However, if you iron it the night before, hang it immediately on a hanger to prevent wrinkles from forming overnight.
3. What if I don’t have an ironing board?
You can use a flat surface such as a tabletop or countertop. Place a layer of soft fabric or a towel beneath the gown to protect it from scratches.
4. How do I remove a stubborn crease?
For stubborn creases, try applying a damp cloth over the area and holding the iron down for a few seconds. Alternatively, you can dampen the crease and place a heavy object on it overnight.
Conclusion
Ironing your graduation gown is a crucial step in ensuring you look and feel your best on this important day. By following the steps outlined in this guide, you can effortlessly remove wrinkles and create a polished appearance that reflects your hard work and achievements. Remember, a perfectly ironed gown is not only a testament to your attention to detail but also a source of confidence and pride as you celebrate your educational journey.