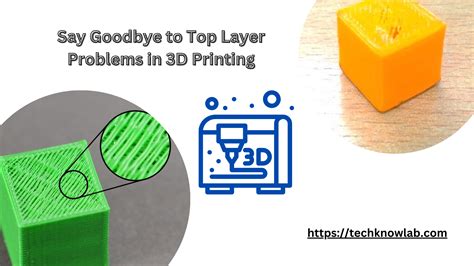
Achieving a smooth and polished top layer is crucial for high-quality 3D prints. However, many users encounter issues with top layer roughness, which can compromise the aesthetics and functionality of their prints. This article delves into the causes, solutions, and best practices to overcome this common problem.
Understanding the Causes of Rough Top Layers
The appearance of a rough top layer in 3D printing stems from several factors:
- Overextrusion: Excessive material deposition during the final layers can lead to rough, uneven surfaces.
- Z-axis Wobble: Instability or misalignment in the Z-axis (vertical axis) can cause layer shifting, resulting in a jagged top surface.
- Nozzle Clogging: A partially clogged nozzle can impede even material flow, creating inconsistencies on the top layer.
- Print Speed: Printing at excessively high speeds can compromise layer adhesion, leading to rougher surfaces.
- Improper Cooling: Inadequate cooling during printing can cause the material to warp or deform, resulting in a bumpy top layer.
Solutions for a Smooth Top Layer
Addressing the causes of top layer roughness requires a comprehensive approach:
- Calibrate Extrusion Rate: Adjust the extrusion parameters in your slicer software to ensure optimal material flow and prevent overextrusion.
- Stabilize the Z-Axis: Tighten screws, adjust belt tension, and ensure proper alignment to minimize Z-axis wobble.
- Clean the Nozzle: Regularly clean the nozzle to remove any debris or buildup that could obstruct material flow.
- Optimize Print Speed: Experiment with different print speeds to find the ideal balance between speed and layer quality.
- Enhance Cooling: Employ fans or cooling towers to ensure proper cooling during printing, reducing the risk of warping or deformation.
Tips and Tricks for a Pristine Top Layer
Beyond addressing the root causes, consider these additional tips for achieving a smooth top layer:
- Use a Raft: A raft acts as a sacrificial layer beneath the print, reducing the impact of bed irregularities on the top surface.
- Enable Ironing: Some slicers offer an “ironing” feature that smooths the top layer by slightly overextruding and pressing it down.
- Try Adaptive Layer Heights: Adjust layer heights to be thinner toward the top of the print, creating a smoother transition between layers.
- Post-Process the Top Layer: Sandpaper or use acetone vapor (for ABS prints) to smoothen the top layer manually post-printing.
Why a Smooth Top Layer Matters
The benefits of achieving a smooth top layer extend beyond aesthetics:
- Improved Functionality: Smooth surfaces reduce friction and improve the overall performance of functional parts.
- Enhanced Detail Retention: A smooth top layer preserves fine details and intricate features in the print.
- Professional Appearance: A smooth and polished top layer conveys a high level of craftsmanship and professionalism.
- Reduced Post-Processing: Minimizing top layer roughness reduces the need for extensive post-processing, saving time and effort.
A Glimpse into the Future of 3D Printing
The quest for smooth top layers in 3D printing continues to drive innovation. Researchers are exploring novel materials, advanced printing techniques, and AI-powered optimization algorithms to achieve even smoother and more precise results. As these technologies mature, the possibilities for high-quality 3D printing will expand exponentially.
Conclusion
Mastering the art of achieving a smooth top layer in 3D printing empowers users to produce exceptional-quality prints that meet their aesthetic and functional requirements. By addressing the root causes of top layer roughness, implementing effective solutions, and employing proven tips and tricks, makers can overcome this common challenge and unlock the full potential of 3D printing technology.
Tables
| Cause | Solution |
|---|---|
| Overextrusion | Calibrate extrusion rate |
| Z-axis Wobble | Stabilize Z-axis |
| Nozzle Clogging | Clean the nozzle |
| High Print Speed | Optimize print speed |
| Inadequate Cooling | Enhance cooling |
| Tip | Description |
|---|---|
| Use a Raft | Avoid bed irregularities |
| Enable Ironing | Smooth the top layer |
| Adaptive Layer Heights | Smoother transitions |
| Post-Process the Top Layer | Manual smoothing |
| Benefit | Impact |
|---|---|
| Improved Functionality | Reduced friction, enhanced performance |
| Enhanced Detail Retention | Preserved fine details, intricate features |
| Professional Appearance | High level of craftsmanship, professionalism |
| Reduced Post-Processing | Saved time, effort |
| Projected Innovation | Expected Impact |
|---|---|
| Novel Materials | Enhanced surface smoothness |
| Advanced Printing Techniques | Precise and efficient printing |
| AI Optimization | Automated optimization for smoother results |